Touch typing guide: where to start and what to read next
A plain guide to learning touch typing, with the posts to read in order: why it helps, the home row, practice, measuring speed, fixing mistakes, Kiswahili, schools and code.
Touch typing means typing without looking at the keyboard, with each finger responsible for its own keys. It is a habit you build, and you can build it in short sessions with nothing more than a keyboard and some patience. This page is the starting point for our series on learning it, with the posts in a sensible order.
We are Alphonix, a software team in Nairobi, and we are building a touch typing app called Tutype. It has not launched yet, so wherever we describe it we say so and we do not claim any results. Every post in the series is written by us, and none is an independent comparison of typing tools.
- Start with why it helps and what it does not promise, then learn the home row and practise in short sessions.
- Measure progress with accuracy and net speed, not raw speed, and fix the key pairs that cause your mistakes.
- There are separate posts for Kiswahili typing, teaching a class, and typing code.
What touch typing is, in one paragraph
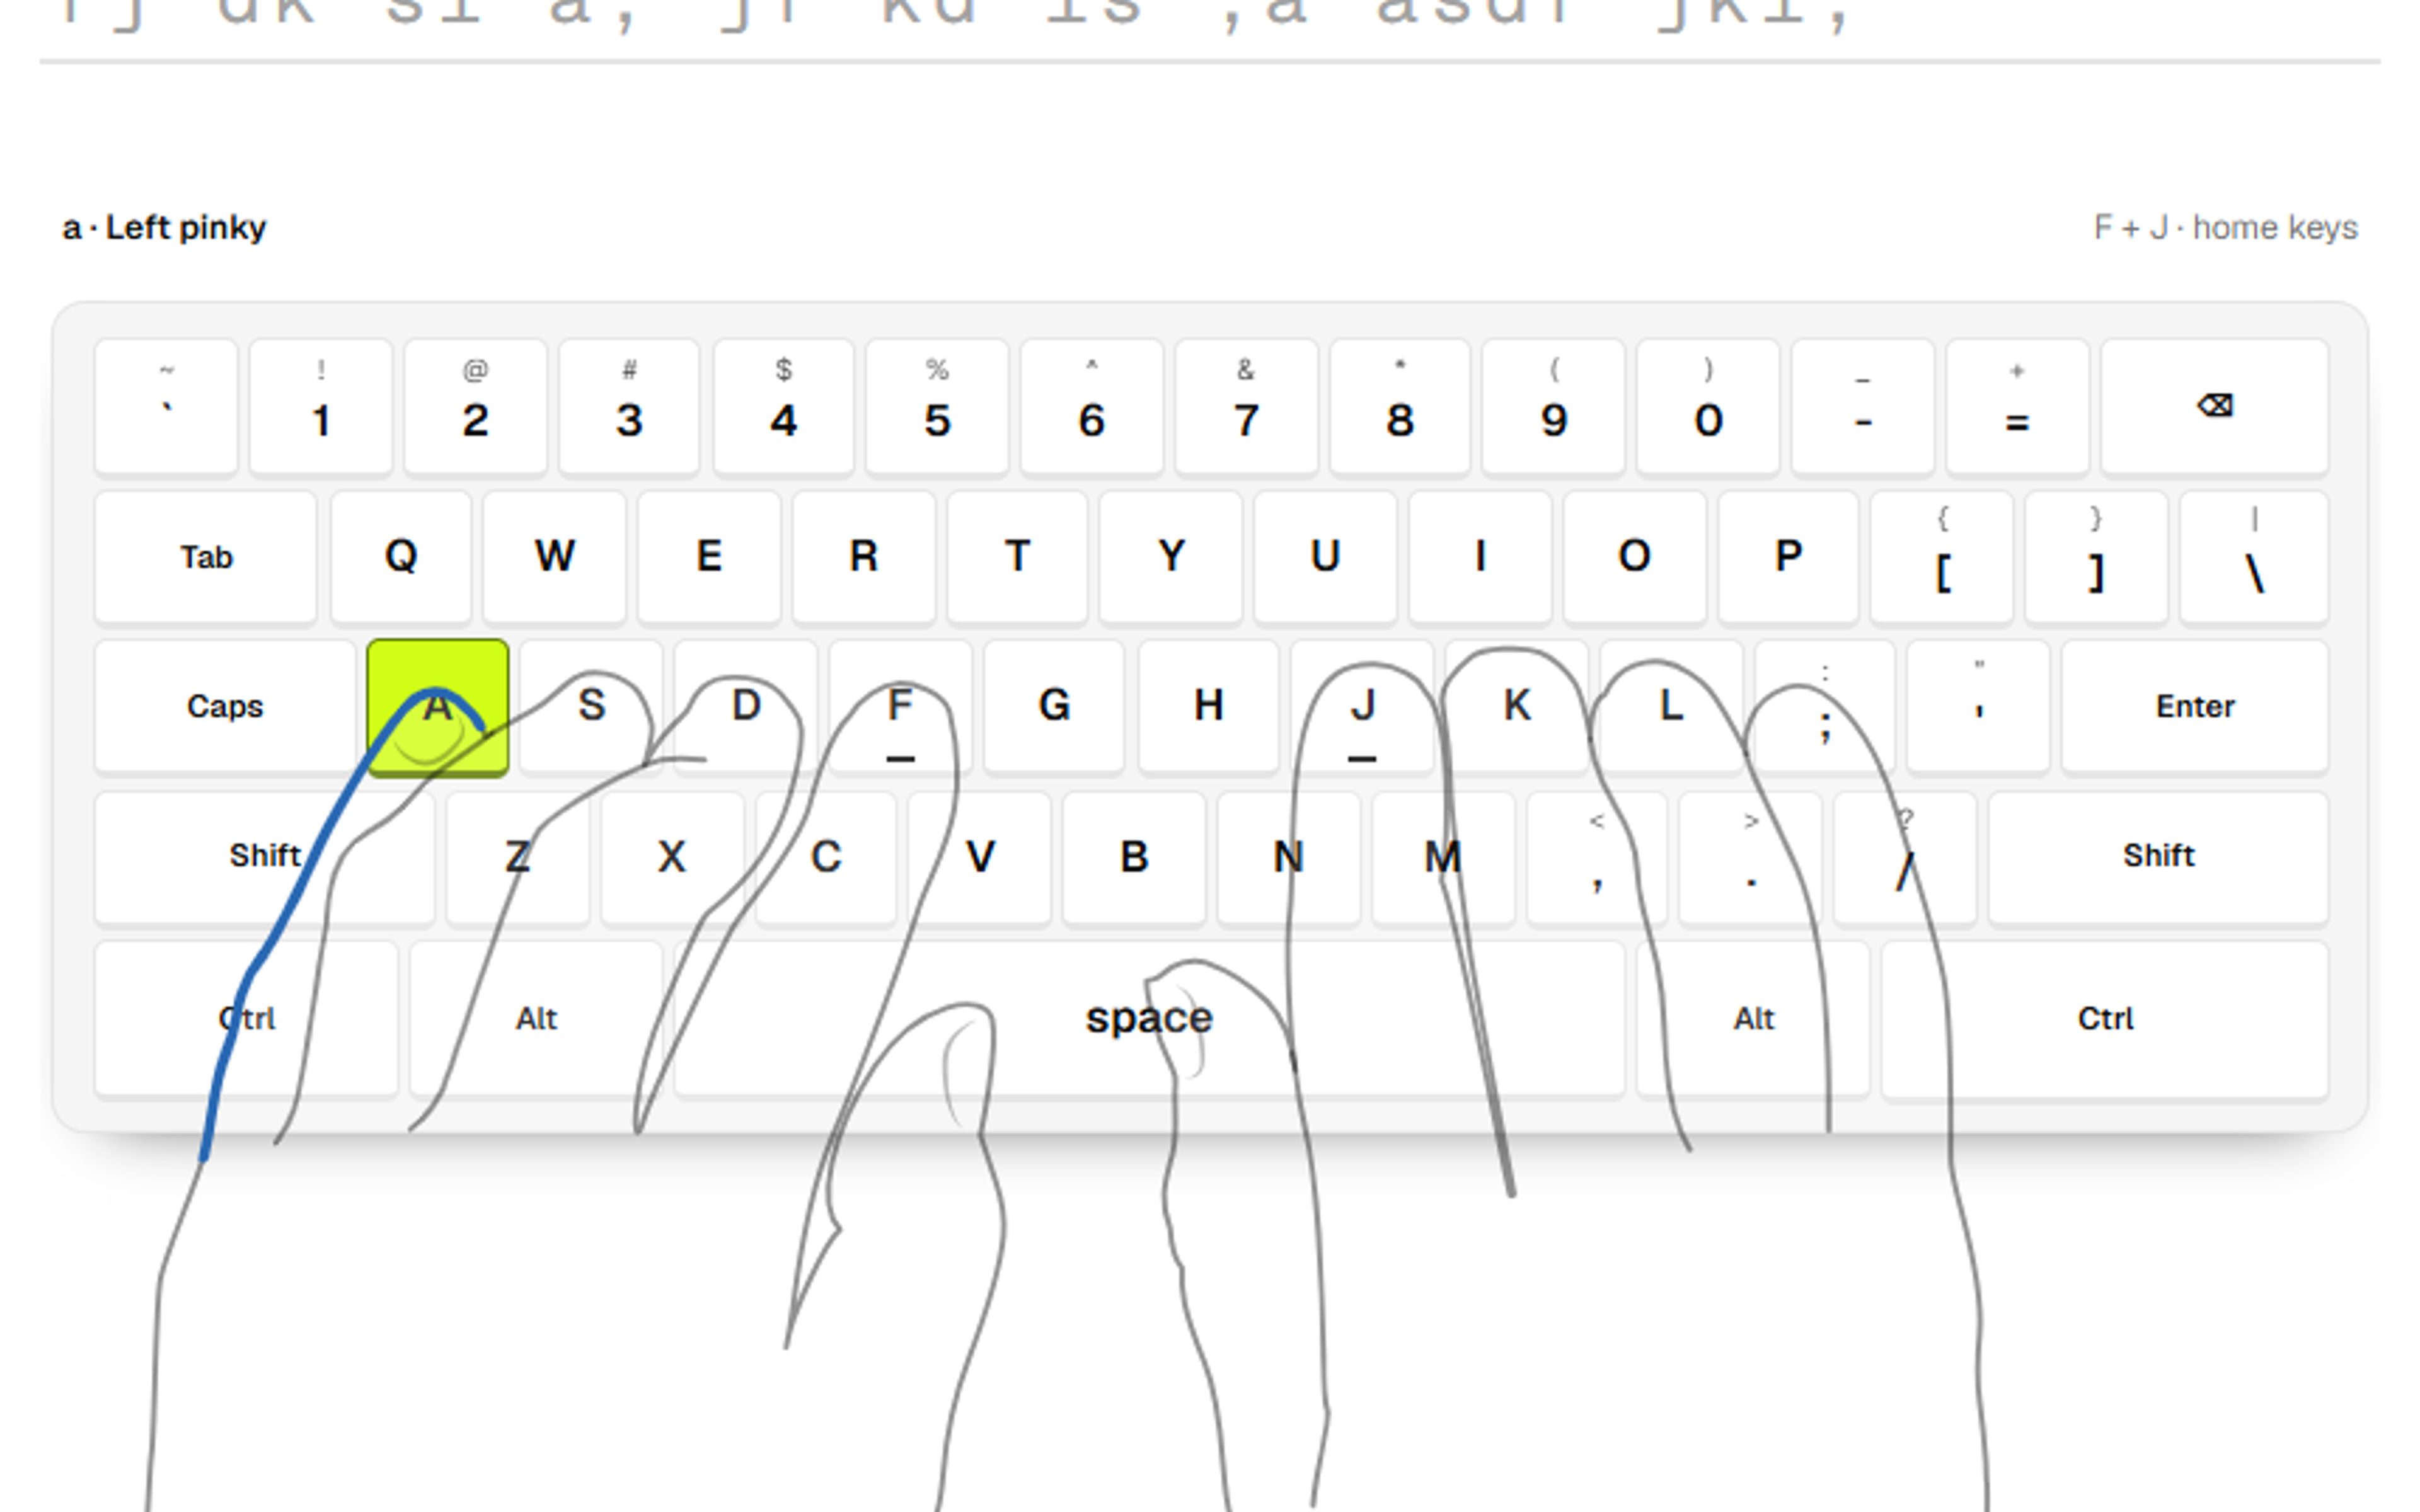
Your hands rest on the home row, with the left fingers on A S D F and the right fingers on J K L and the semicolon, and your thumbs on the space bar. Every other key is reached by one fixed finger, which then returns home. Because your fingers know where the keys are, your eyes can stay on the screen.

A small study at Aalto University in 2016 found that typists who took a touch typing course were not faster on average than self-taught typists who used about six fingers. Faster typists kept their hands in a fixed position and used the same finger for the same letter. It is one study of 30 people, so we treat it as a reason to value consistent habits, not as the last word.
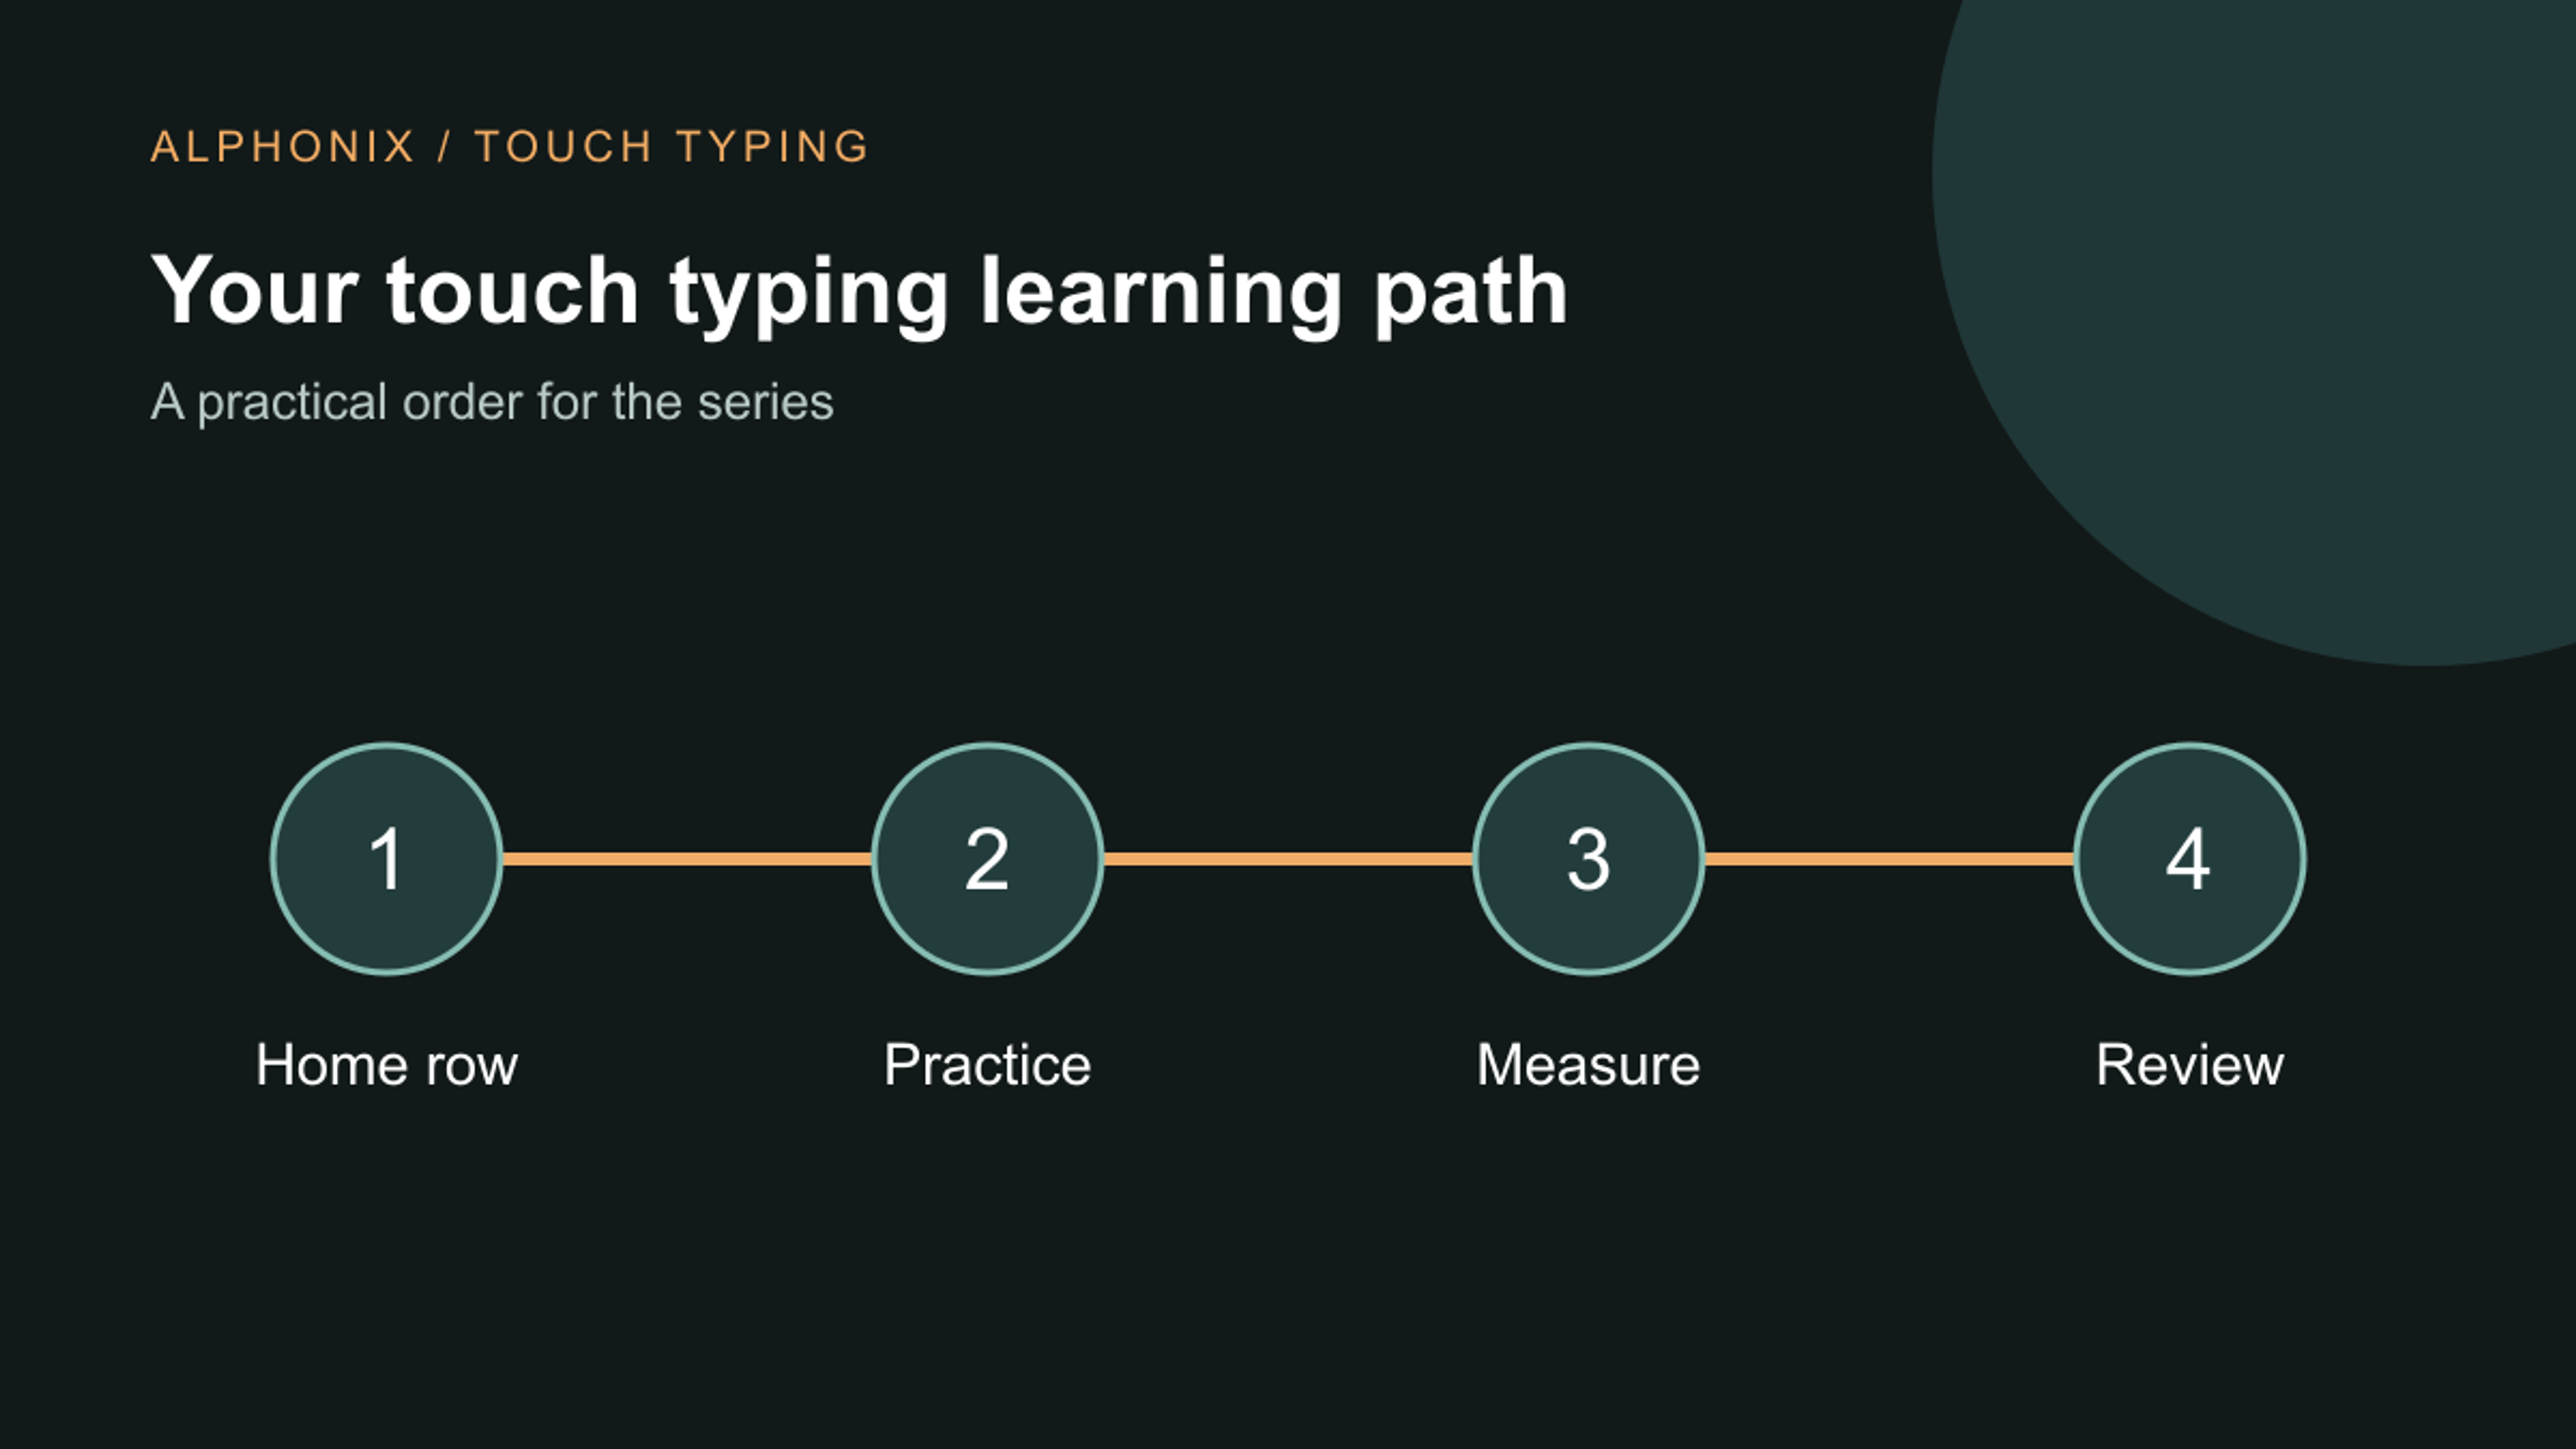
The learning path
Read these in order if you are starting out. Each one stands on its own, so skip to the one you need.
| Option | Good fit | Trade-off |
|---|---|---|
| 1. Why learn it | Is touch typing worth the effort, and what does it actually give you? | Read this first if you are not sure it is for you. |
| 2. The home row | Where each finger rests, which finger covers which key, and a first practice session. | Your first lesson, with a finger chart. |
| 3. How long it takes | Why no honest fixed answer exists, and how short, spaced sessions are meant to work. | Plan your practice instead of chasing a date. |
| 4. Measuring speed | Gross WPM, accuracy and net WPM, with arithmetic you can check by hand. | Use fair numbers to track your own progress. |
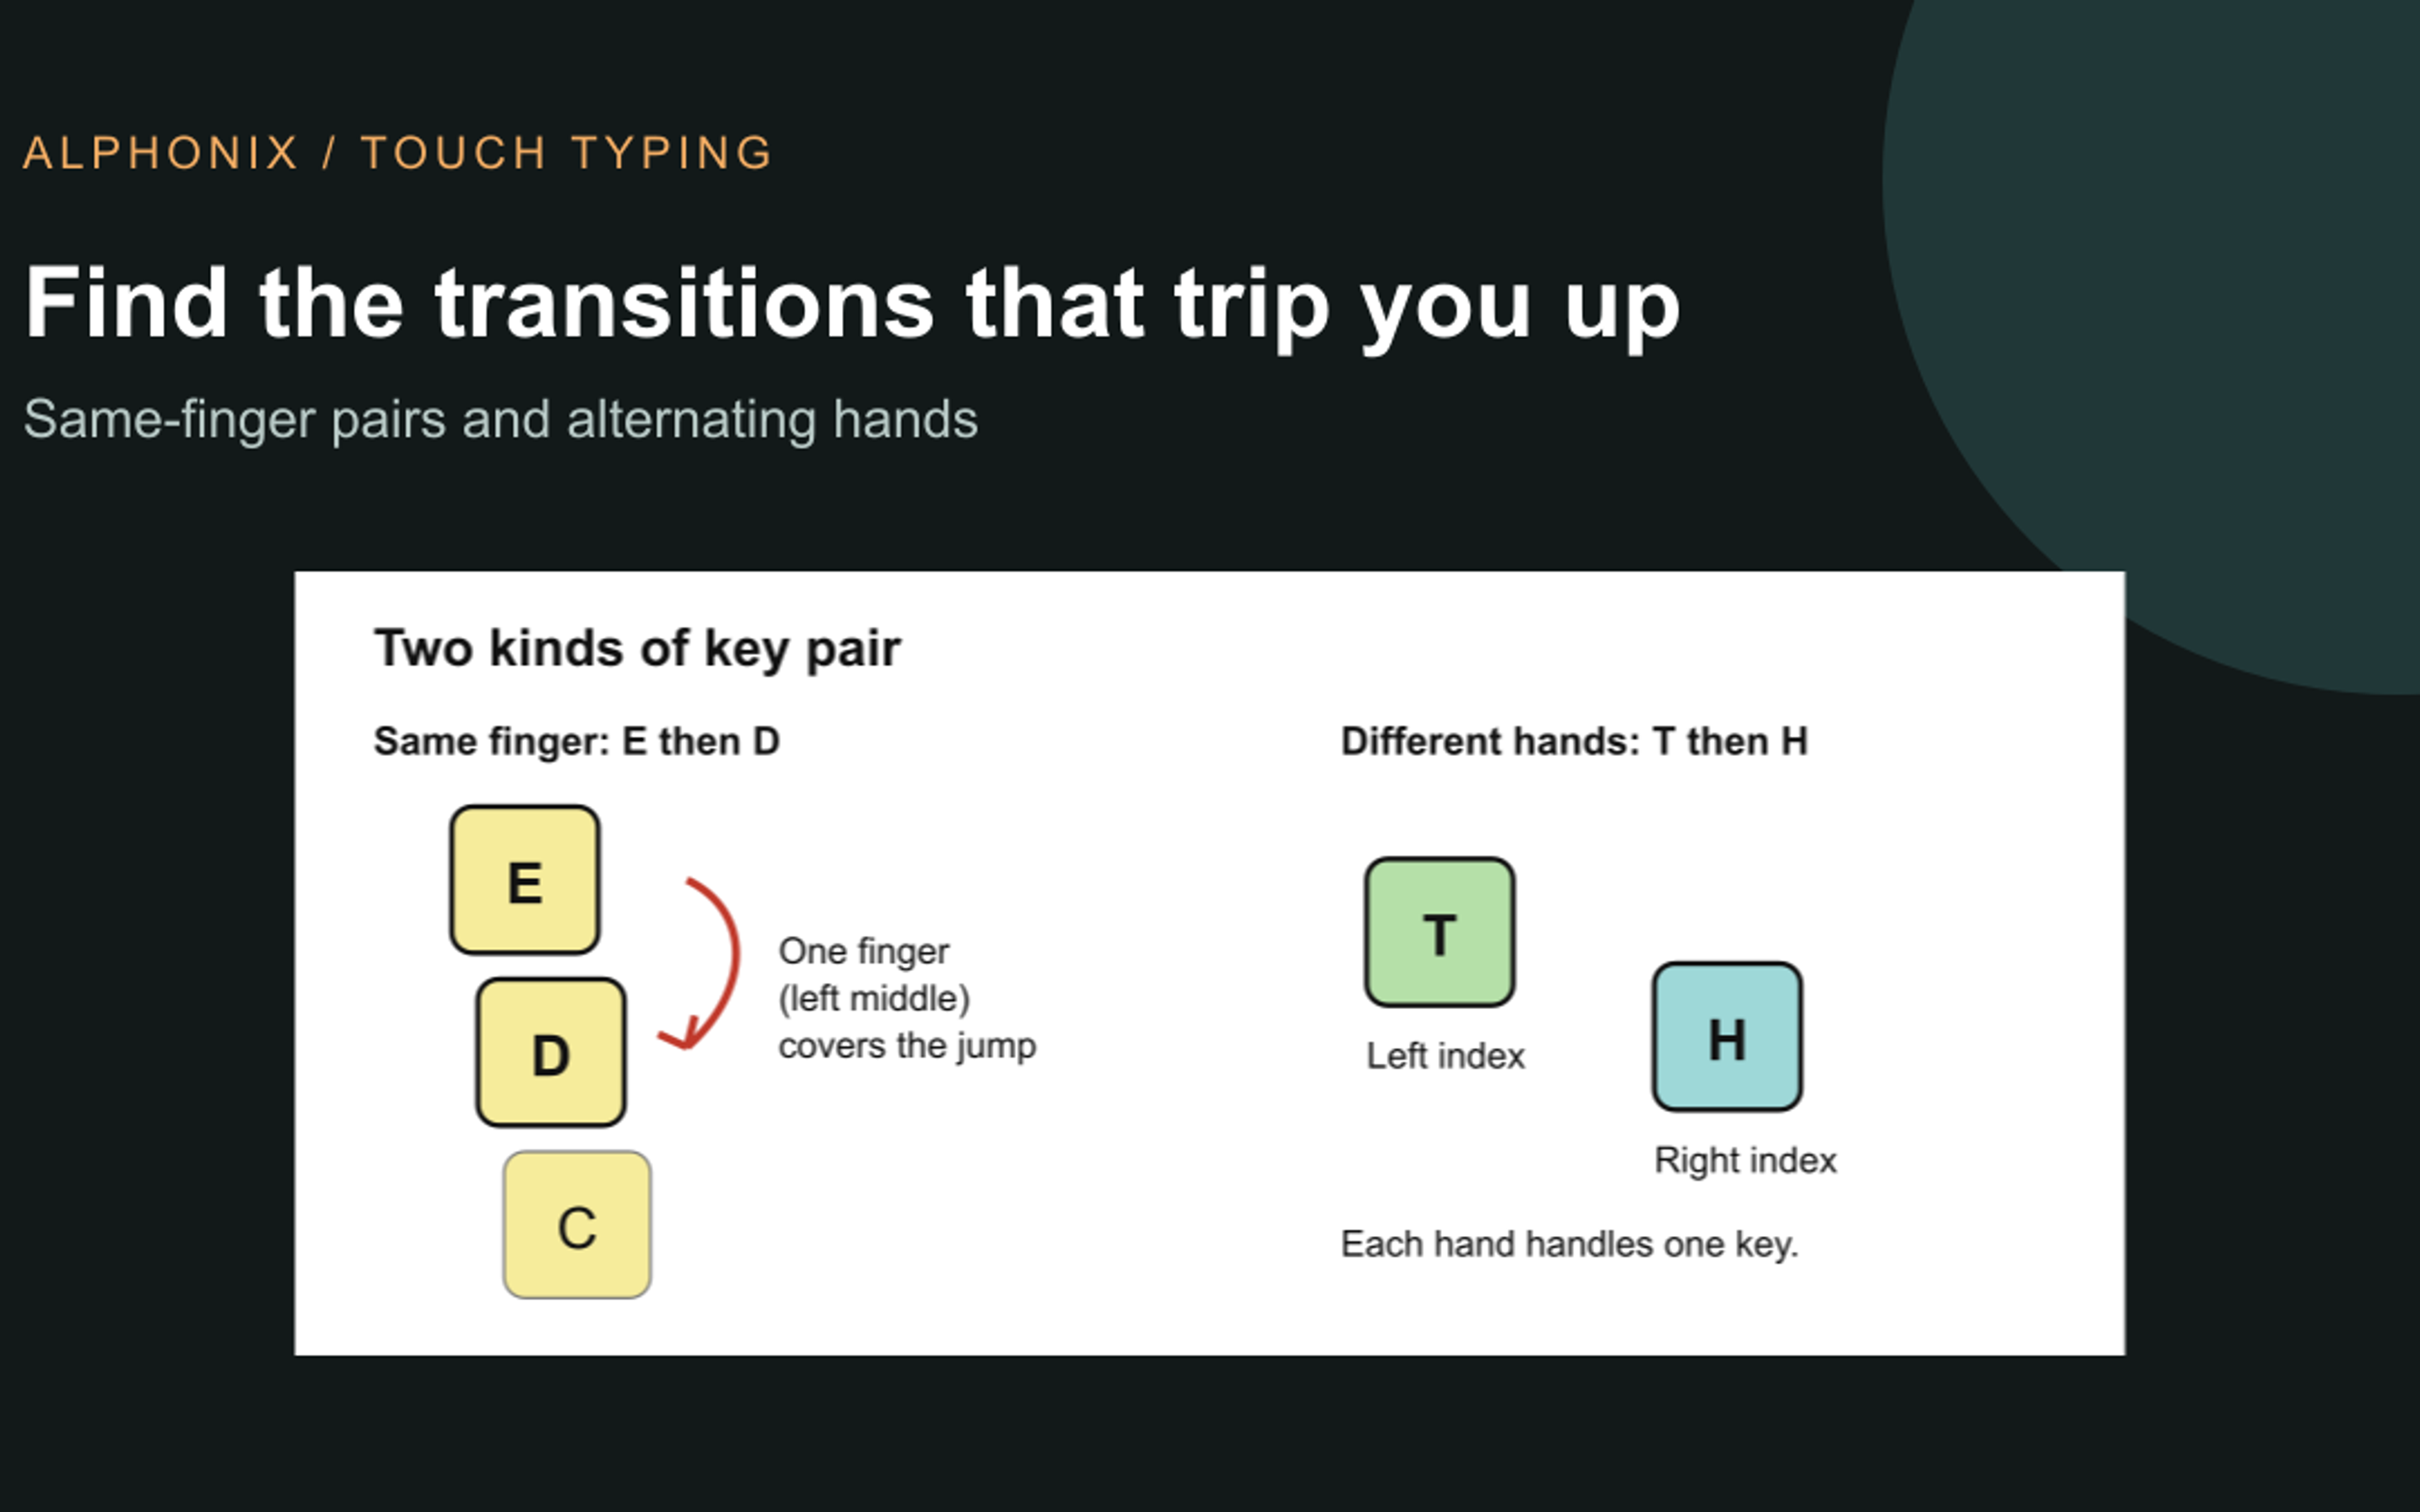
| 5. Fixing mistakes | Error types, same-finger reaches and drilling your weakest key pairs. | For when accuracy is the problem. |
The posts are: why learn touch typing; the home row and finger zones; how long it takes to learn touch typing; net WPM and accuracy; and touch typing mistakes and weak key pairs.
If you have a specific need
Some readers need more than the basics. These posts are written for them.
| Option | Good fit | Trade-off |
|---|---|---|
| Kiswahili typing | Why a typing course needs its own lessons: syllables, noun prefixes, tenses and verb endings, and how our Kiswahili course, Ustadi, is designed. | For Kiswahili speakers, students and teachers. |
| Teaching a class | A practical classroom routine, accommodations, what to watch for, fair ways to judge progress and offline lab use. | For teachers, ICT coordinators and school leaders. |
| Typing code | Where brackets, braces, pipes and backticks sit on a US keyboard, how to practise them and what typing practice cannot teach. | For students and beginner developers. |
You can read them here: typing in Kiswahili, teaching typing in a school and touch typing for developers.
A few habits that help at any stage
Keep sessions short, around 5 to 10 minutes, and come back often. Put accuracy before speed, because speed follows once the movements stop needing thought. Keep your eyes on the screen, sit upright with relaxed wrists, and stop and adjust your setup if anything hurts. These ideas run through every post in the series, and the research behind them is small, and many studies involve children, so we offer them as sensible habits to try and watch.
About Tutype
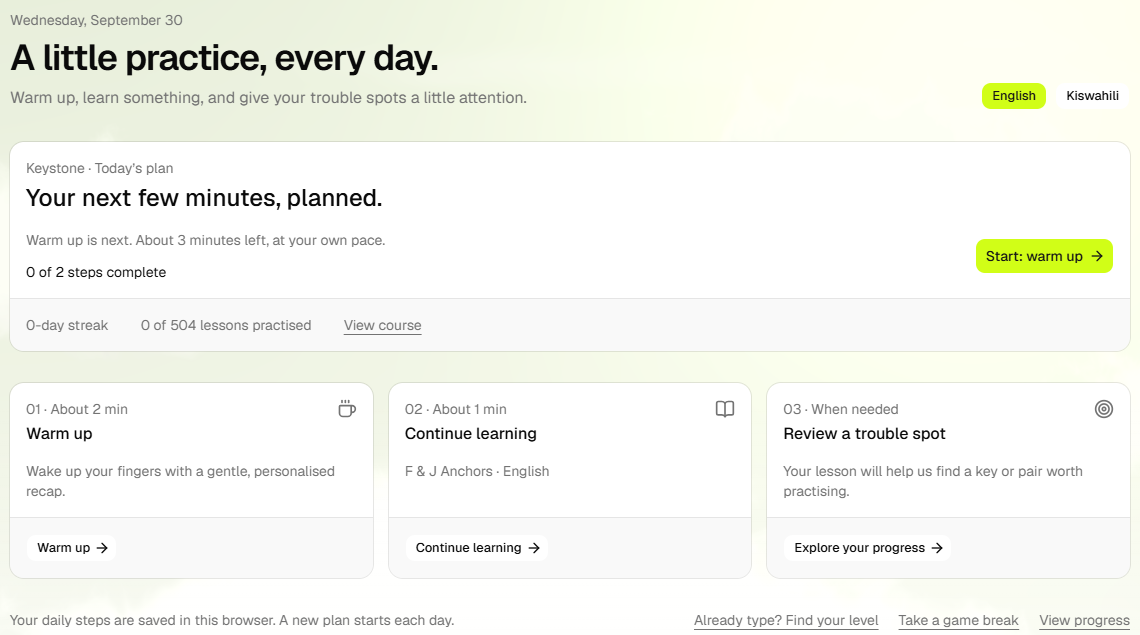
Tutype is our own touch typing app, and it is in development. It is designed around the same rules as this series: short lessons, a small number of new keys at a time, a hand guide that fades as you improve, and a review of the key pairs you miss. It has two full courses, one in English and one in Kiswahili, and a classroom edition for teachers. We have no users or learner results to report yet, so everything here describes the design.
If you would like to hear when Tutype launches, or want to talk about using it in a school, get in touch with us. If you are planning a learning app or website of your own, see our web development service.
How we prepared this guide
Written by Alphonix as an index to our touch typing series, so it adds no new research claims. The one external source is Aalto University's news summary of its 2016 study of 30 typists. Tutype is a product we are building and have not launched; it is described as in development, with no learner results. Where this page summarises another post, that post carries the detail and its own notes on how it was prepared. The finger diagram was drawn by Alphonix and the screenshots are from our development build.
Facts reviewed